Pages

Thursday, February 26, 2015

"Summer in Wildomar"

Lately, I seem to be spending more of my time making paper collages than fiber art. I did eek out some time to finish the 4 sunprint fabric artwork that I blogged about here.

The title of this series is "Summer in Wildomar". Each piece is 8" x 10" and stretched on a wood frame. The majority of the pieces were hand stitched using Valdani threadI made the sunprint fabric in the summer while living in Wildomar, CA so I thought it would be a good name for this series. I used Jacquard SolarFast dye and Setacolor Transparent Fabric paint sun print the fabric.

"Summer in Wildomar #1"

"Summer in Wildomar #2"

"Summer in Wildomar #3"

"Summer in Wildomar #4"


Monday, February 23, 2015

Organizing my fabric scraps

I love dyeing, painting and marking my own fabric. There are usually small marked scraps after finishing a project. Usually, I just put the scraps in storage and forget about them. 

The other day I was looking into the containers of Dharma Fiber Reactive Procion dyes trying to figure out the difference between Carmel, Sahari and Chamois. I can't tell the difference by looking at powdered dye. I decided to start documenting when I dye or paint fabric. Nothing fancy so I will keep up with it. This book is for me to use as a reference when thinking about dyeing or painting fabrics for a project. I bought a wire bound sketchbook and started attaching the dyed/painted fabric scraps with short notes about the dye and water recipe. Again nothing fancy.

I started with Dharma Procion dyes in browns. I've been dyeing a lot of browns lately so, the scraps spilled over to 2 pages. I left a few blank pages inbetween each page that has fabric scraps attached. I want to try to keep the color families together. 


Dharma Procion dyes in Greens.


I don't use a lot of red, orange or yellow in my artwork so, I put the scraps on one page.


Rit Liquid dyes


Setacolor Fabric Paint


Sunprint fabrics using SolarFast and Setacolor.


Thursday, February 19, 2015

Collage #43

I'm continuing to push myself outside my comfort zone when making collages. Collage #43 is a true testament to that statement. I'm still on the fence if I like it or not.


Once again I started by adhering distressed bleeding tissue paper to my small journal. I used matte medium and you can tell by the cloudy effect at the bottom left side. 


I pulled out leftover peach paper that I used on Collage #42 and placed it in the lower right side. At this point, I decided to let the collage sit for a few days while I plot out my next step. 


When I came back to this collage, the peach paper was glaring at me. I took out my green and white paint and loosely brushed over the peach paper and white area. The peach paper is still visible but it's not as strong.


At this point, I thought to just go for it and just layer on top various papers. The dark horizontal paper is distressed bleeding tissue paper in navy. It didn't photograph well. Added a narrow strip of peach paper, 3 circles of pale yellow paper and 3 upside down "T"s from a book. 


This collage may not be my favorite but I don't think it's a misstep. I learned a lot when making it. 

1. Going forward I will limit my use of matte medium so the collages don't look cloudy in color.

2. Rethink how I use paint. White acrylic paint adds to the cloudiness caused by matte medium.

3. Cautiously use distressed bleeding tissue paper that looks organic with non-organic papers such as solid color paper.

4. Next time avoid using straight edge paper cuts.

Monday, February 16, 2015

Collage #42

Collage #42 is a bit of a departure for me. I decided to go outside my comfort zone.


This collage started like most of my recent collages by using distressed bleeding tissue papers.


I pulled out a piece of craft paper that I had splattered with black paint from my paper stash. I placed the paper on top of the collage without adhering it so, I could audition it for awhile to see if it works.


I liked the addition of the paint splattered craft paper so, it was adhered to the collage. (Excuse the photo below. For some reason splattered craft paper didn't photography correctly.) I added some yellow and white paint in the untouched part of the collage. Again, the collage sat for a few days while I decided if it's going in a good direction.


The yellow and white painted area didn't look right so I added peach paper on top of it. Then phrases from a book and part of the inside of a security envelope were added. Adding these papers really push me outside my comfort zone. I'm happy with the results.


Thursday, February 12, 2015

Collage #41

I fell back into my old style with Collage #41. It's more of a uncluttered look with very few layers.  This collage was made over a week with days inbetween to review. I used matte medium to adhere the pieces on this collage. This collage wasn't cloudy as Collage #40 so I didn't finish with a layer of soft gel gloss.


Red and blue aren't my normal color palette but I like how the bleeding tissue paper was distressed.


Like with Collage #40, I added a layer of paint over the white areas. This time Ultramarine Blue and white. 


After a few days, I added the Ultramarine Blue stamped image. 


Monday, February 9, 2015

Collage #40

When I started working on my Quick Sketch Collages here, I was only allowing myself 30 minutes to create each collage. My thought was to keep the collage process loose and non-judgmental. Now that I'm pushing myself to add layers, I decided to throw out the time restriction.

Collage #40 was developed over time...days. I wanted to really look at each step to see if the collage needed more layers of paint or paper. Here is the final Collage #40:
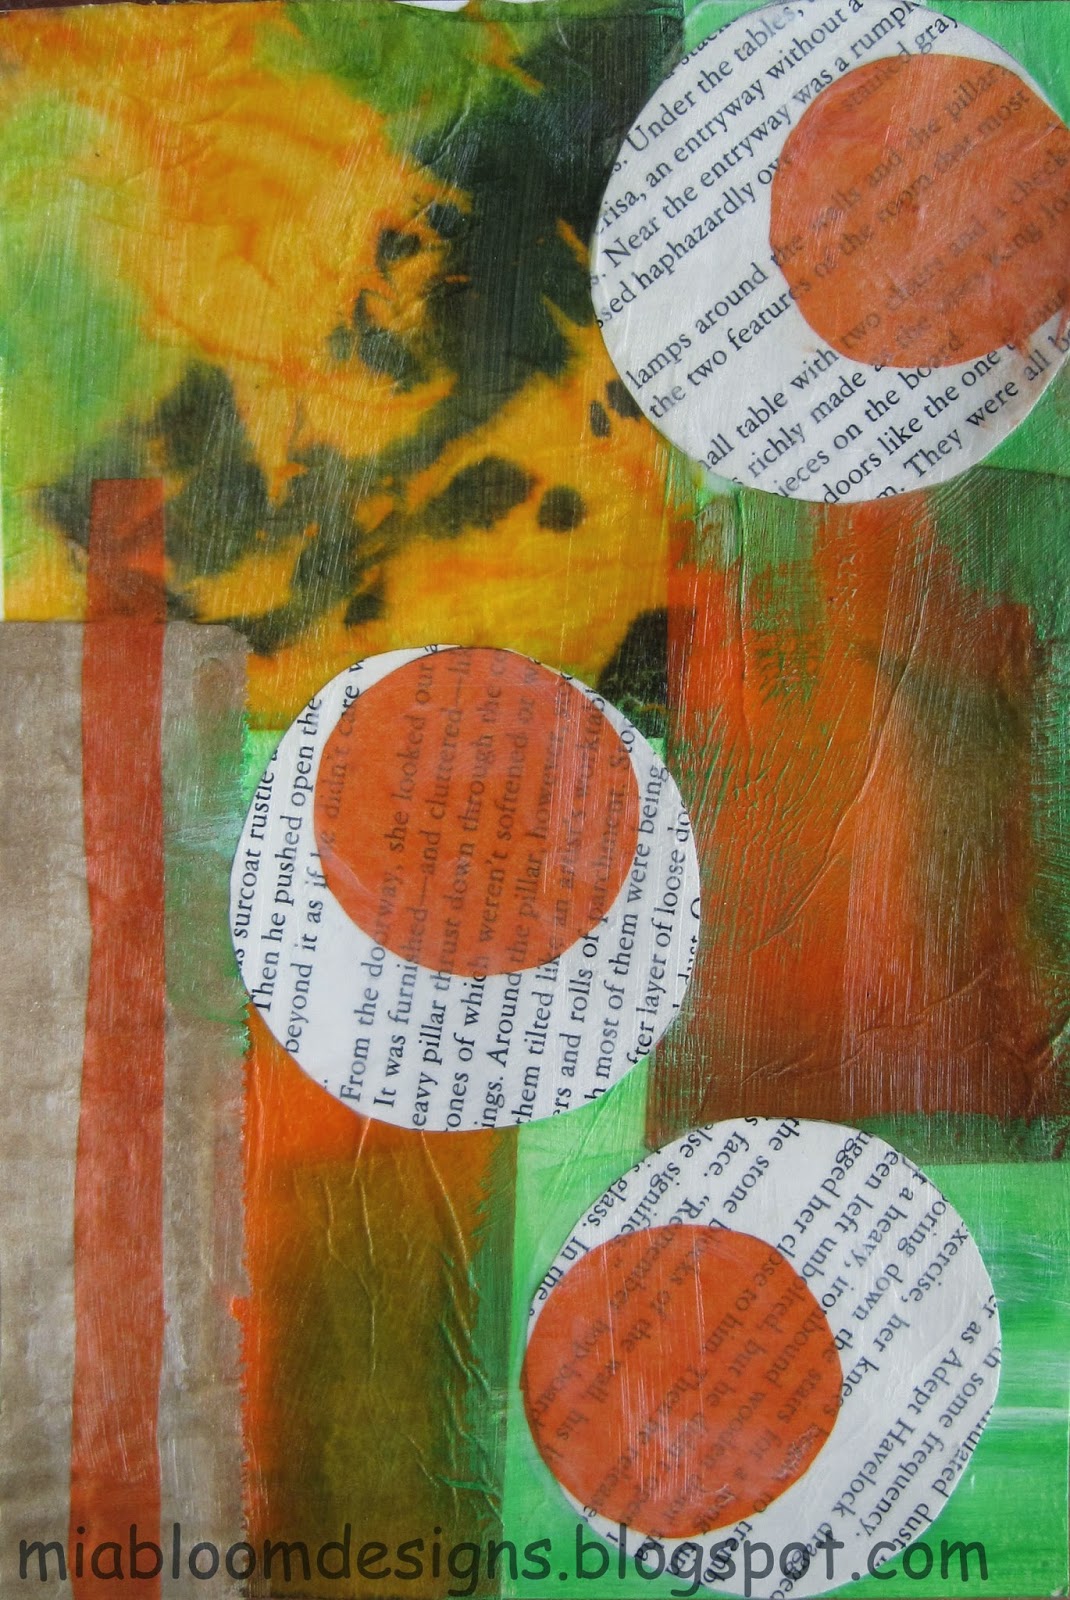
Final Collage #40

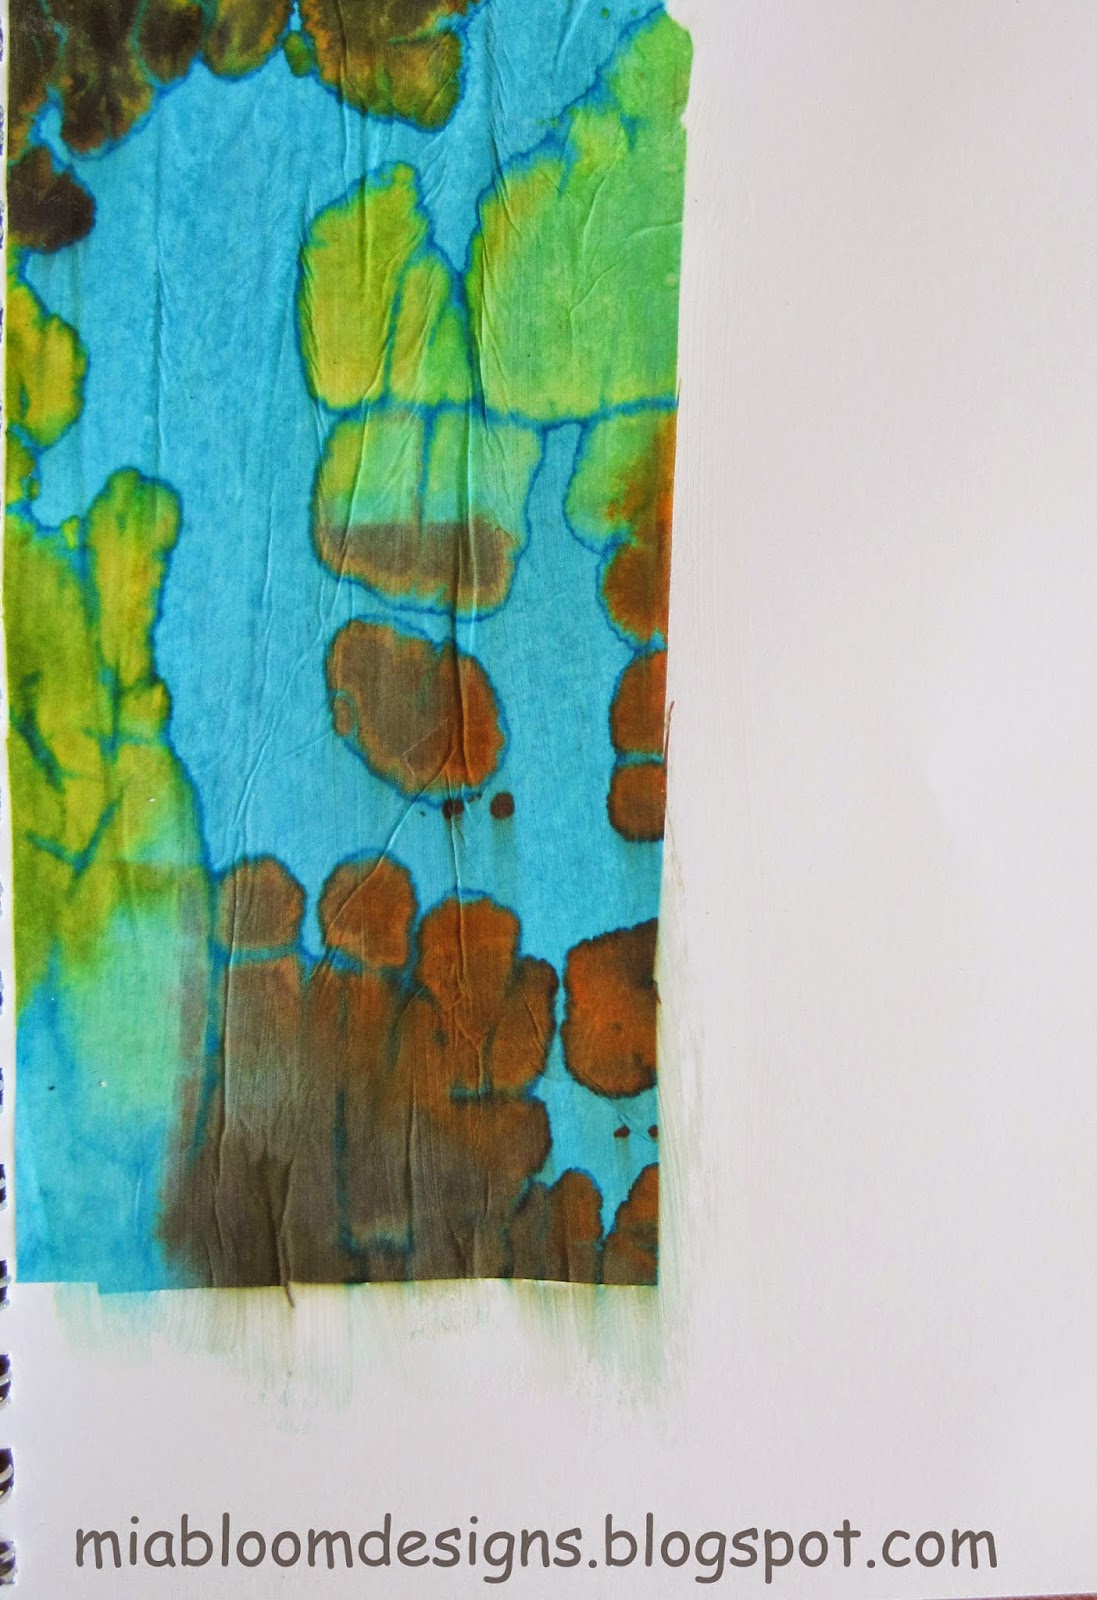
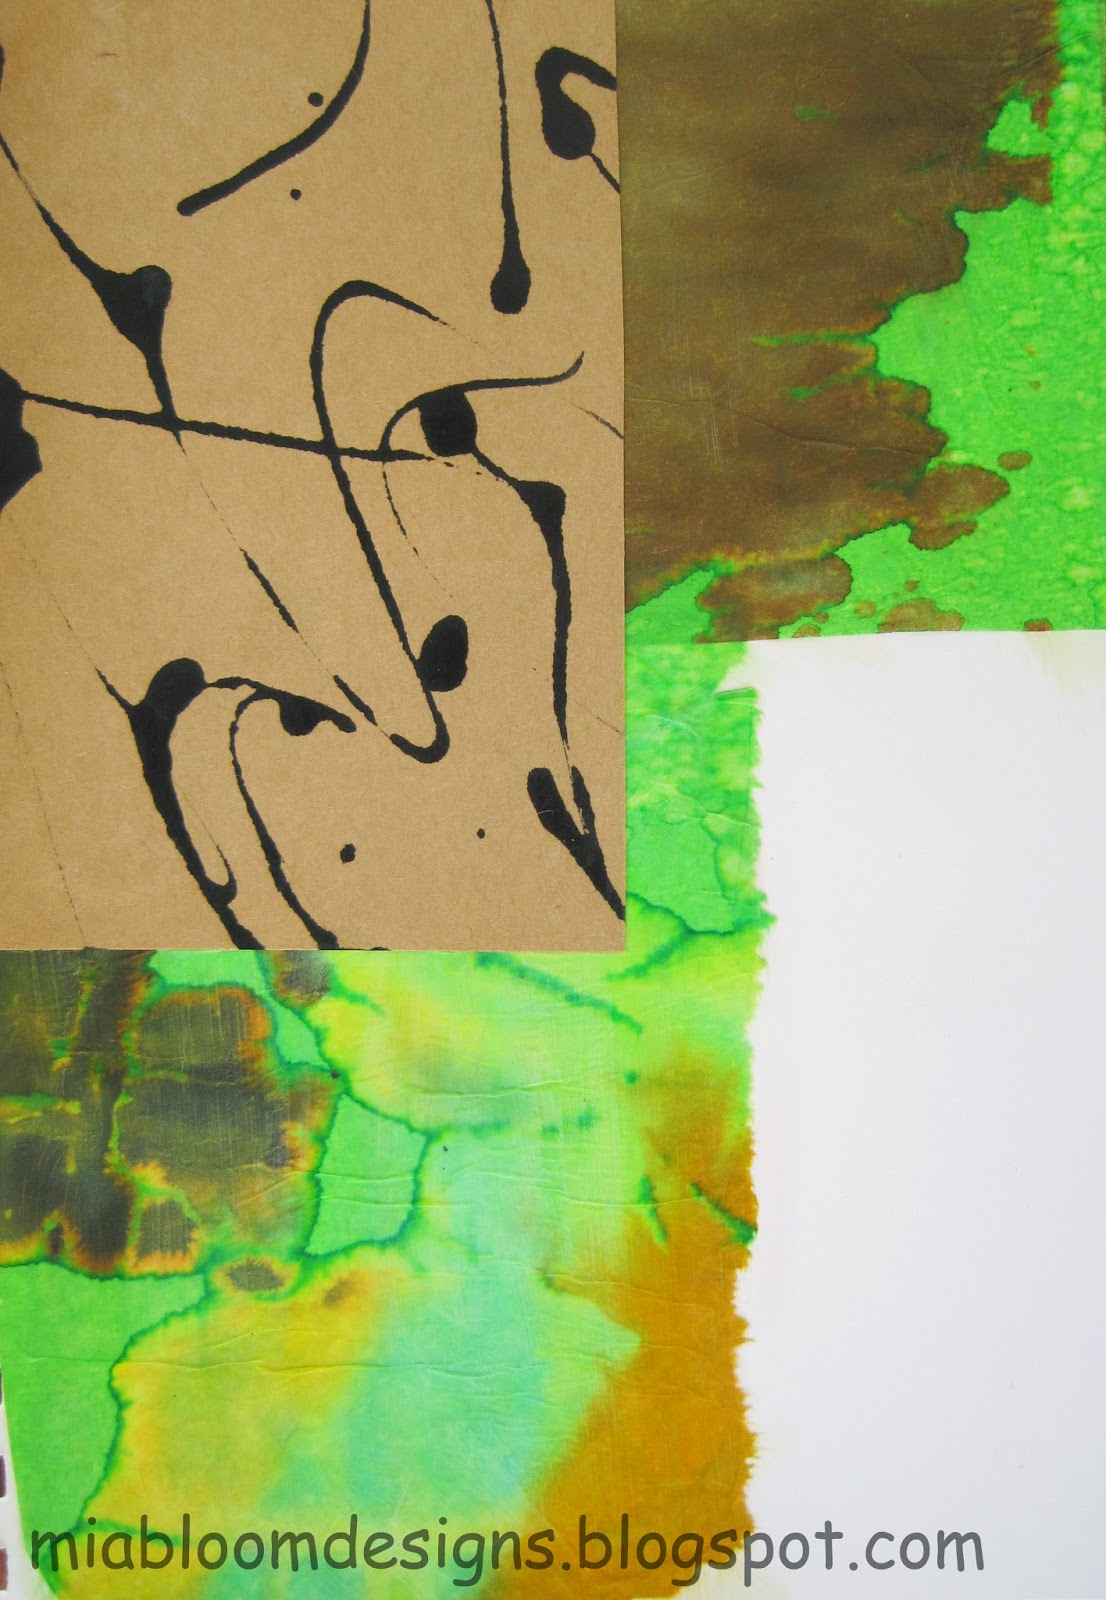
The steps leading up to the final collage show how some of the missteps along the way. I started by adhering 3 pieces of distressed bleeding tissue paper onto the journal page using a matte medium.


I wanted to push myself to add layers using unrelated papers. I cut out the area of the paper bag were the sides are glued together. I liked the serrated edge and the thickness of the paper bag.


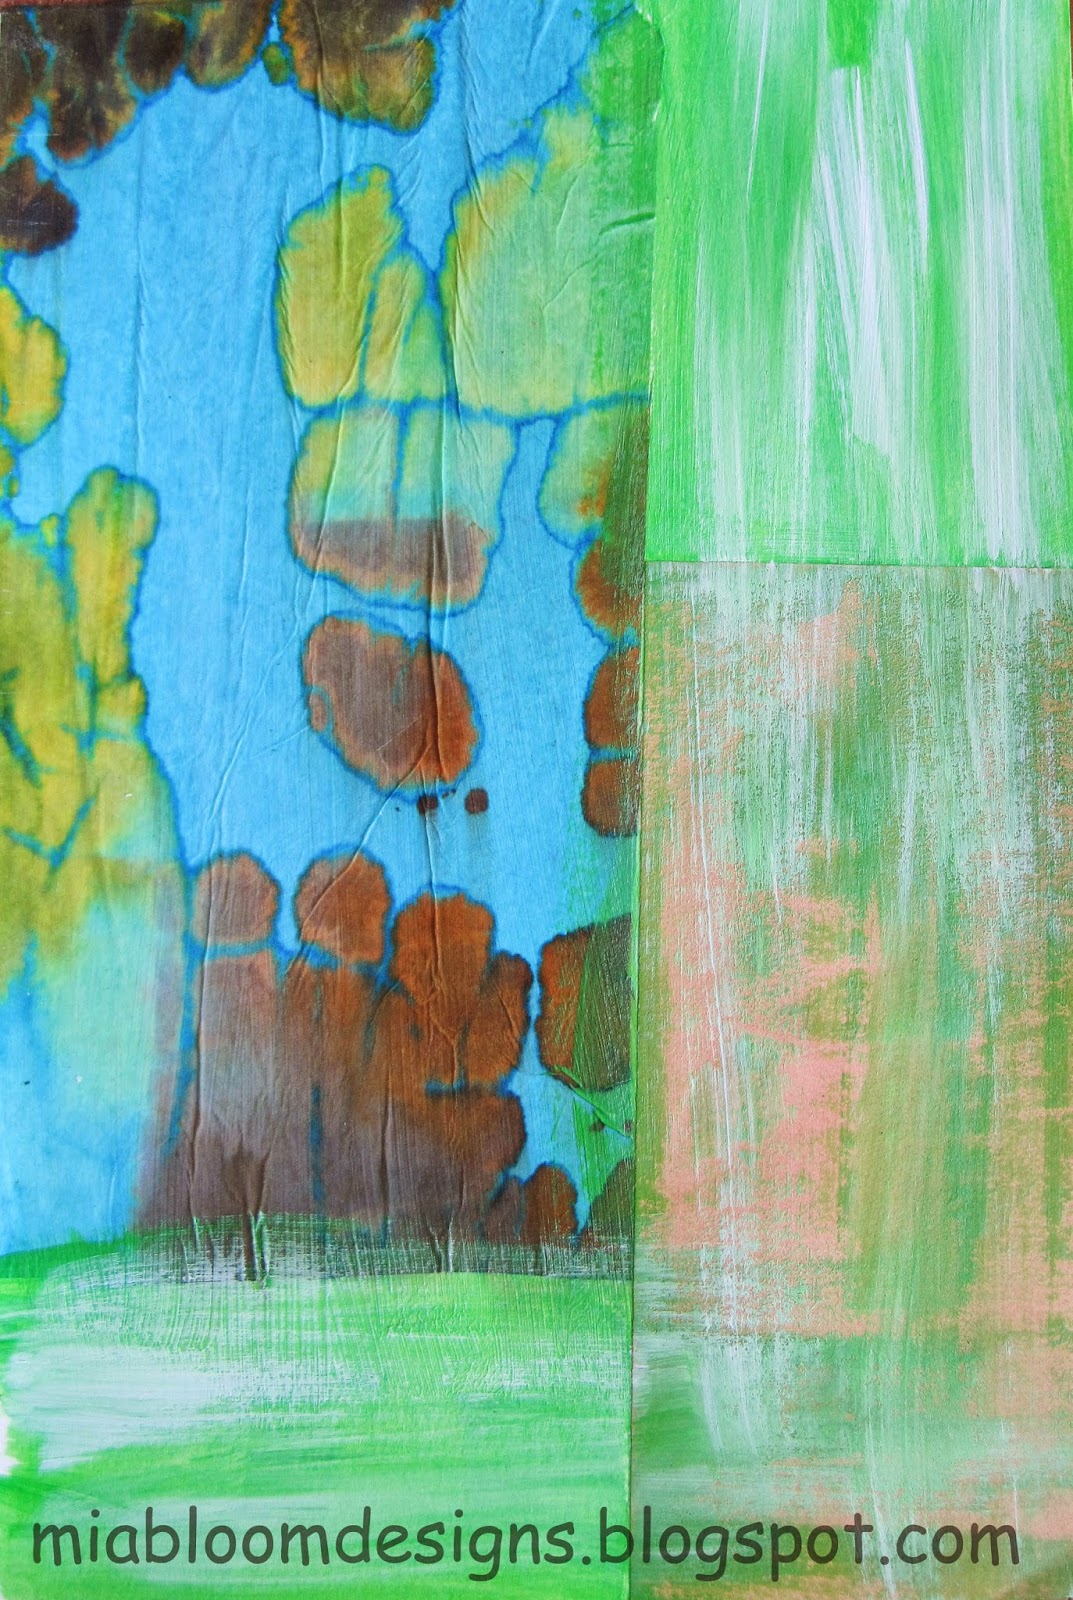
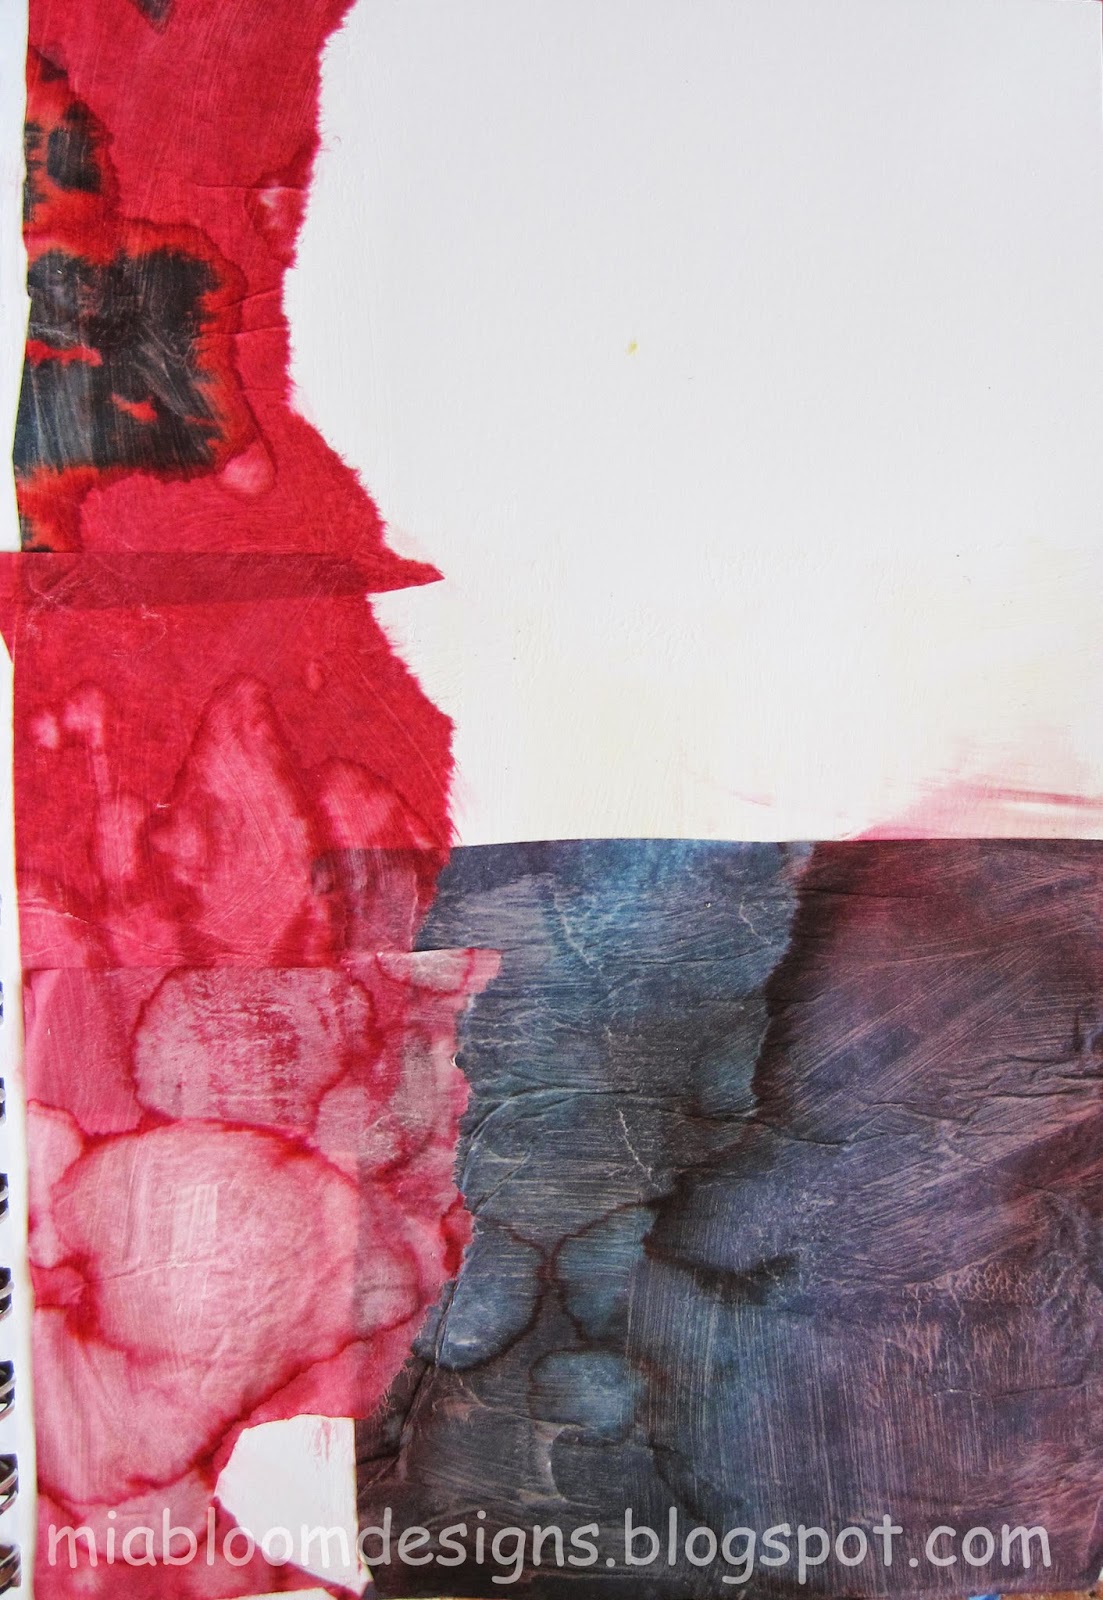
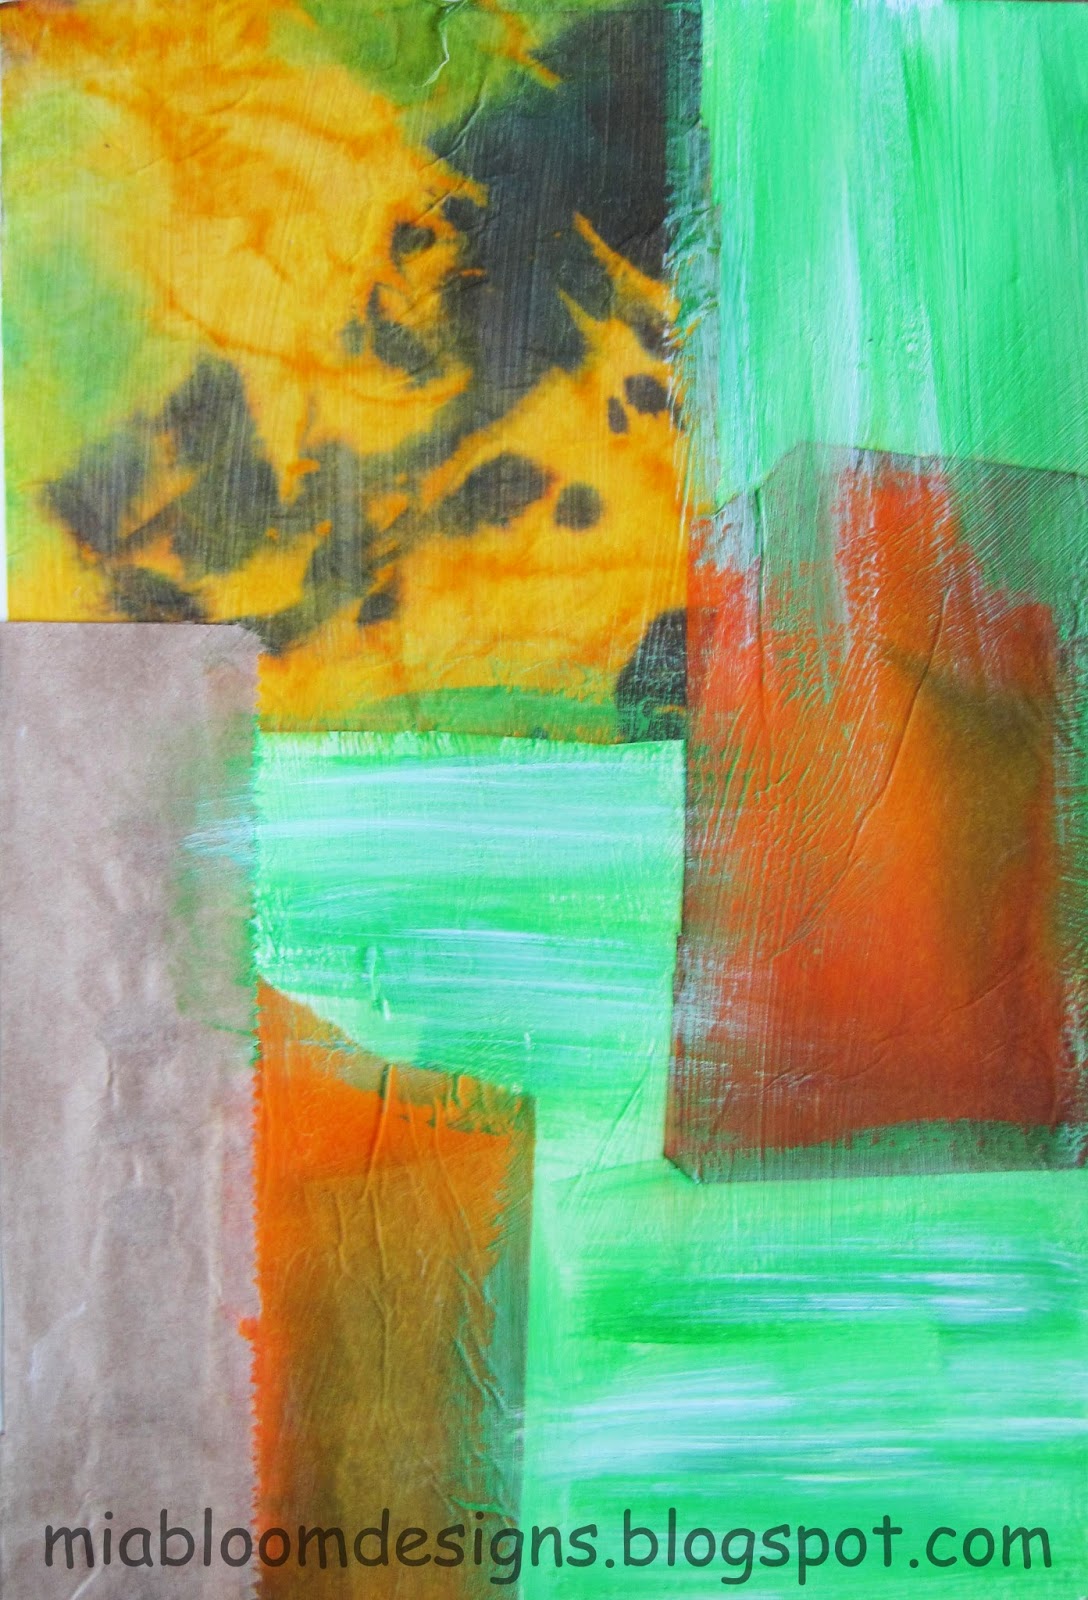
Instead of adding more paper elements to the white areas, I decided to paint a wash of green and white. Overlapping the brush strokes onto the collage papers. The collage stayed at this point for 2 days so, I could figure out the next step.


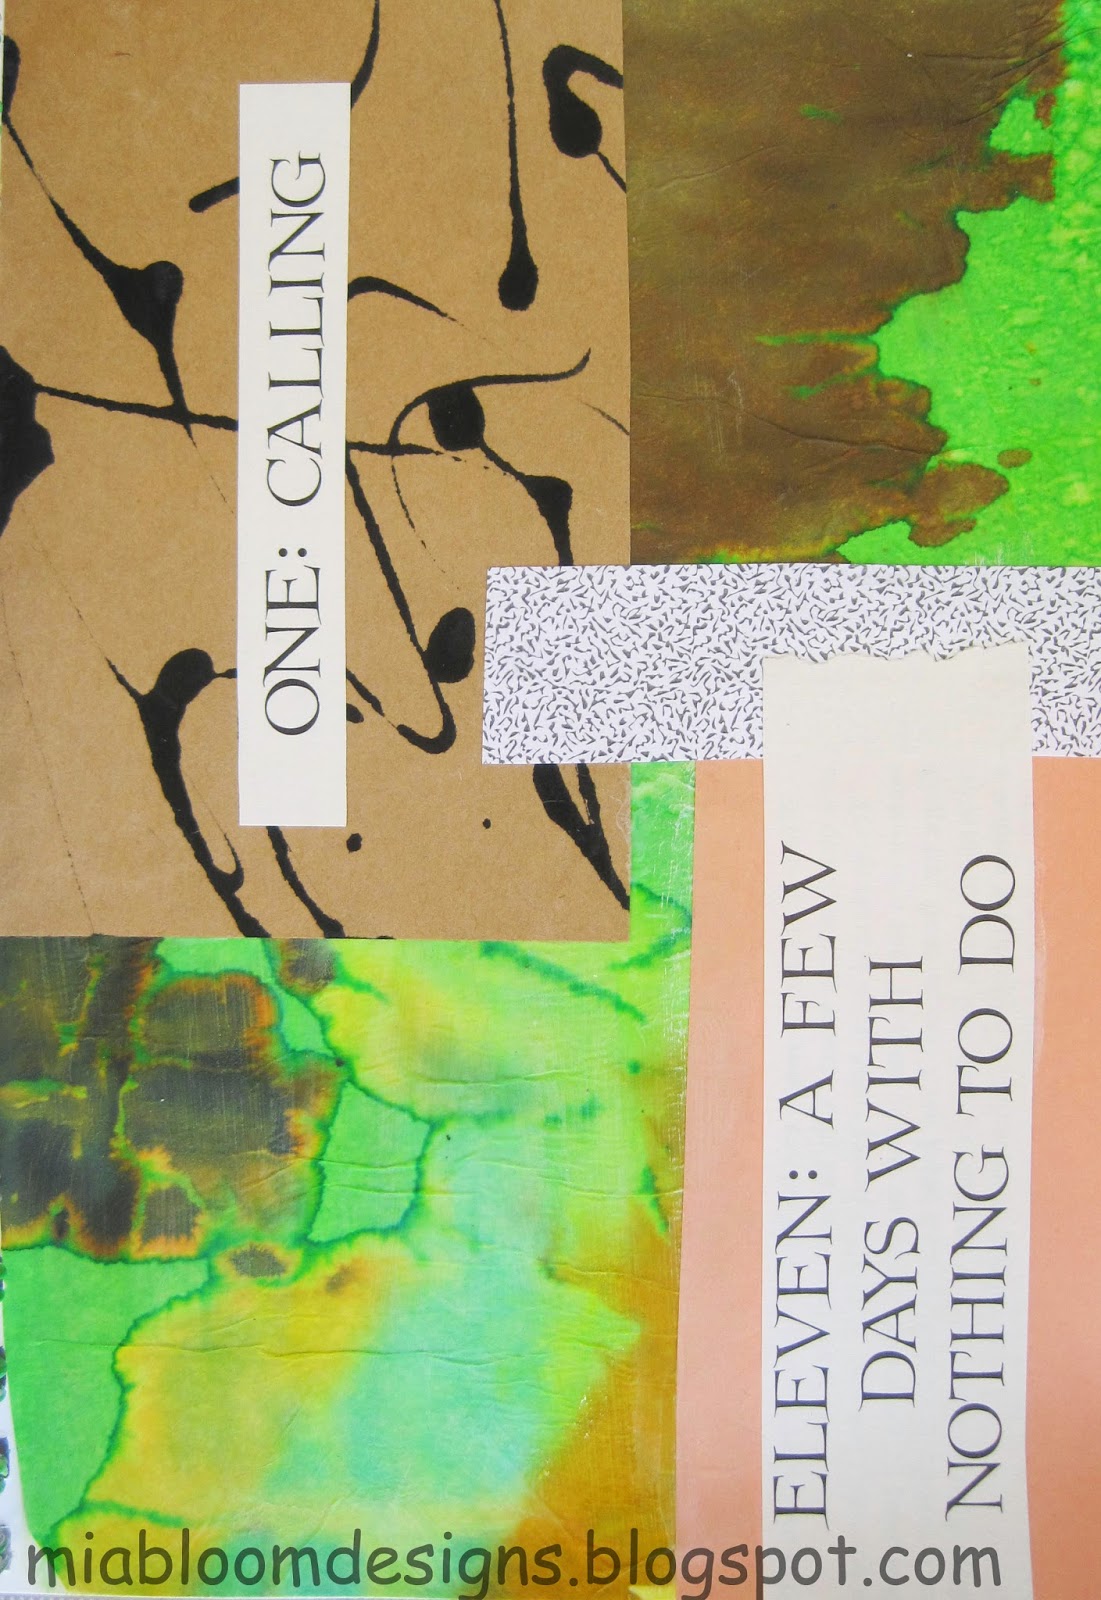
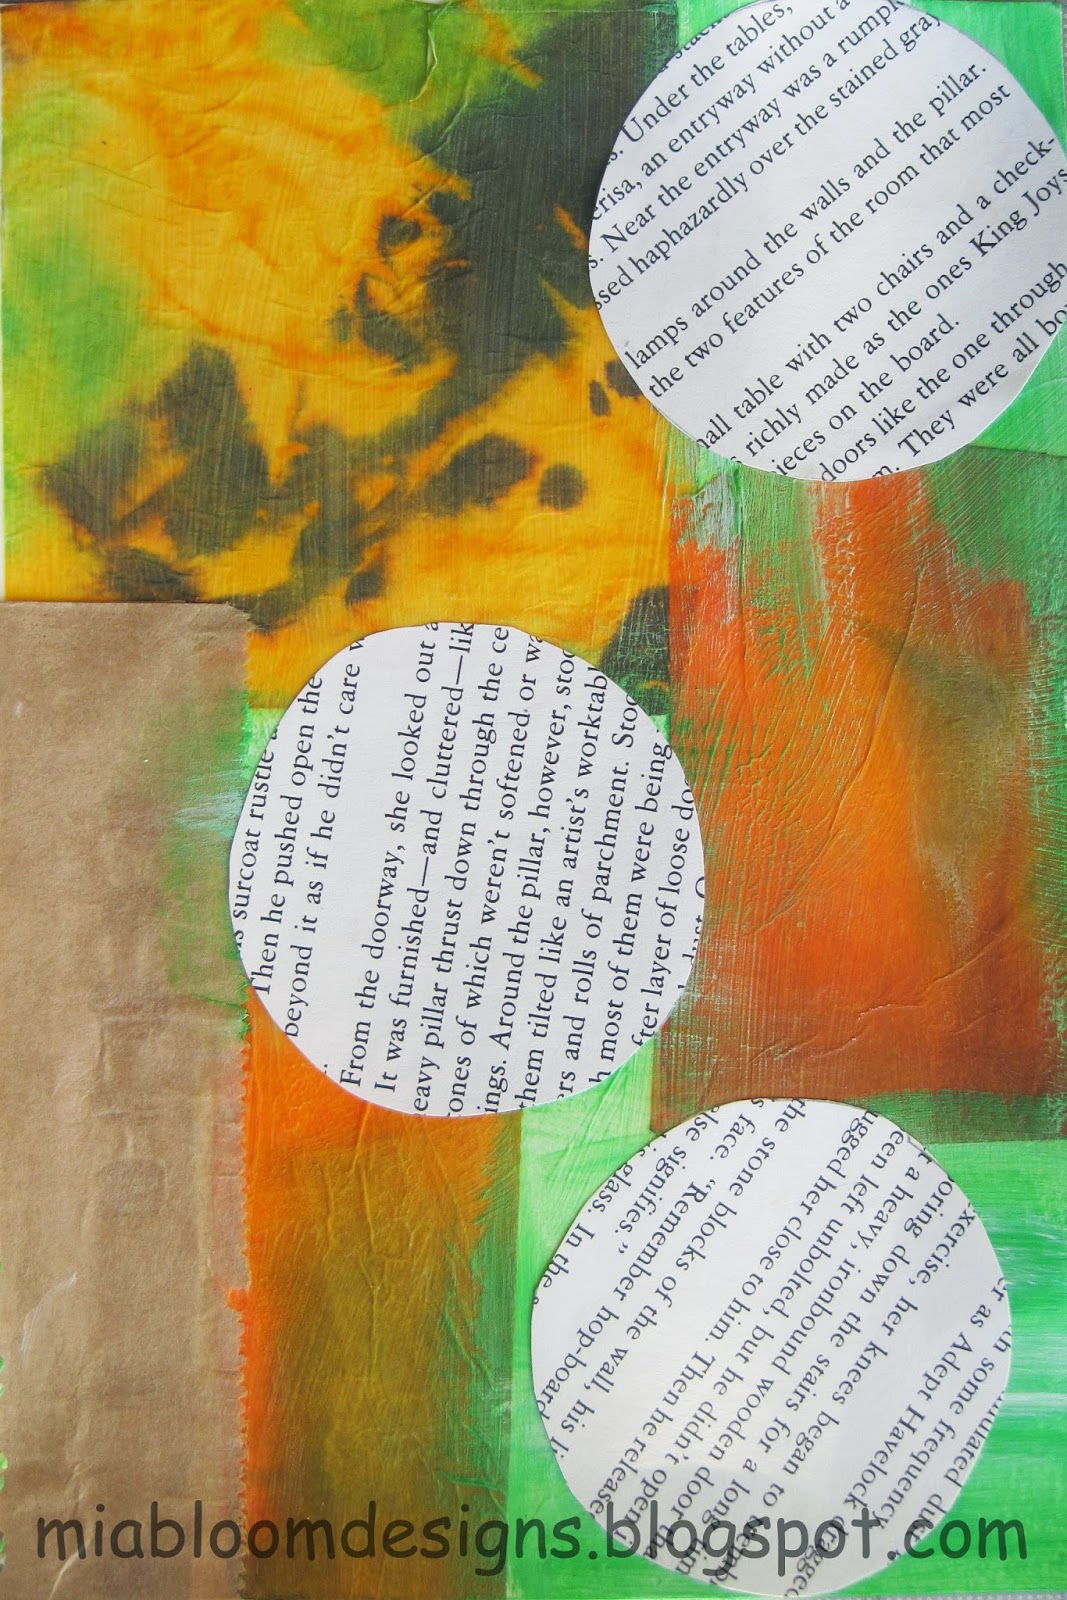
I decided that the green and white painted areas were a bit of a misstep. By introducing the large circles cut from pages in a book, I covered up the misstep and added another layered element to the collage. After this step, I stopped again to live with the collage for a few days.


The circles made from pages in a book and the strip from the paper bag seemed a bit disjointed from the rest of the collage. I decided to add orange tissue paper shapes to tie all the elements together. After this step, I noticed that the matte medium was leaving a cloudy film over the collage that I didn't like. Oops! Another misstep. I brushed on a thin coat of soft gel gloss over the whole piece. It helped to tone down the matte look. Now I'm much happier with the final collage.

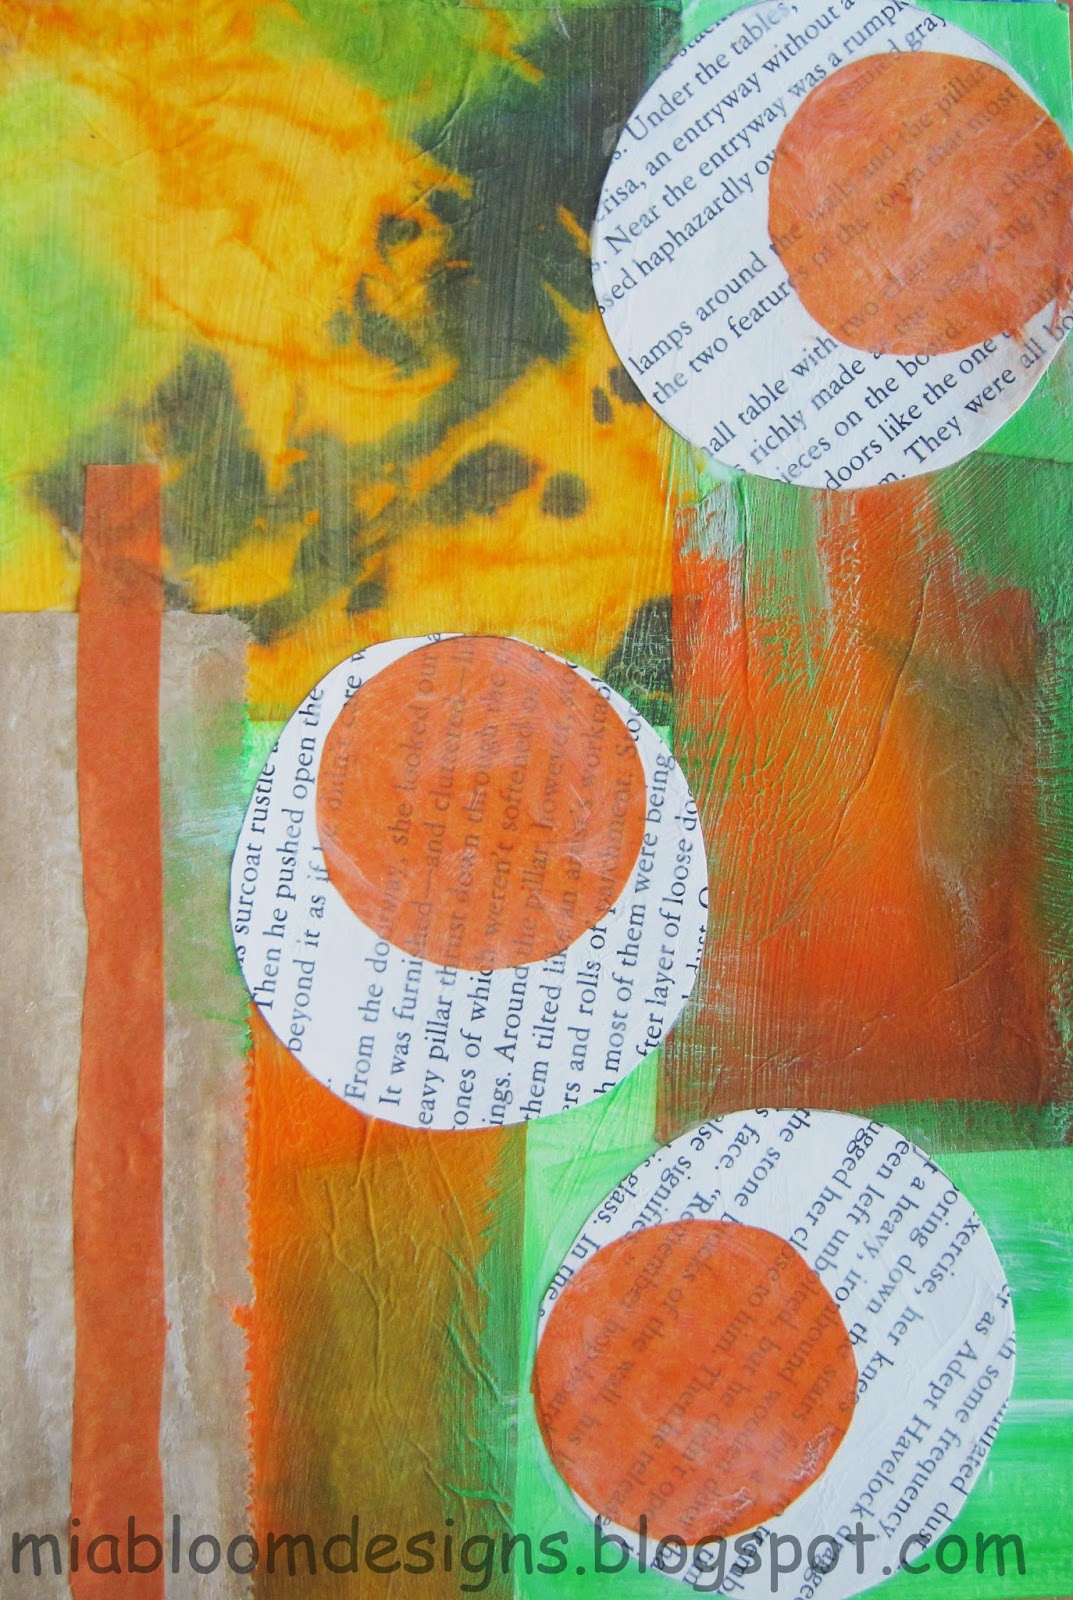
Collage #40 with matte medium
Collage #40 with soft gel gloss

Thursday, February 5, 2015

Collage #39

Collage #39 was made using bleeding tissue paper and Yes glue. I decided not to layer on top of this collage. The colors of the tissue paper made by spritzing water on them is so cool that I didn't want to risk ruining them by layaring paint or stamps or whatever on top.


Monday, February 2, 2015

Collage #38

The other day I spent time with a friend who I met at art college. She is an amazing collage artist. One of these days I'll convince her to have a blog or website but for now you have to take my word that her art is amazing. 

Anyway, she introduced me to acid free Yes paste  to use when creating collages. I've been using Golden Soft Gel for my collages. Yes paste leaves the hand of the collage paper pretty much as is. Matte medium leaves a film or gloss on the collage paper. Either product is good and I'll probably use both for future collages. 

Here is Collage #38 which was made using stained bleeding tissue paper and Yes paste.